you are here [x]: Scarlet Star Studios > the Scarlet Letters > armatures: making a hinge joint's tongue
<< before
poem: oh, honey
after >>
stopmo experiment: replacement faces
March 8, 2010
armatures: making a hinge joint's tongue
by sven at 8:54 pm
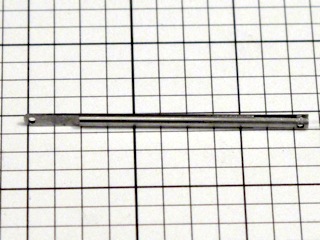
I've been making hinges out of 1/16" stainless steel rod… I want to document the gist of the process while it's still fresh in my mind.
A hinge joint consists of a tongue that fits into a groove. Today I'm just going over how to make the tongue.
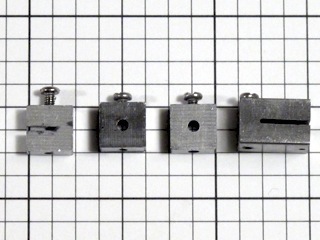
Fig.1: These are the jigs needed to make the part, each made from .25x.25" 1018 steel. You need two rod-holding jigs and a tongue-holding jig. The long jig on the right will be used later, for making the groove end of the joint.
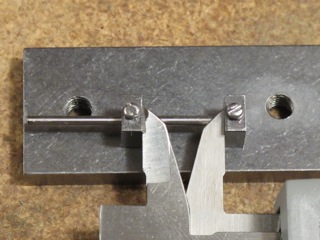
Fig.2: Put your piece of rod through the two rod-holding jigs. One end must be flush with the outside face of one of the jigs. Use calipers to make a space .5" wide between the jigs.
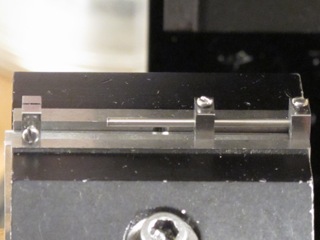
Fig.3: Put the rod, clamped in the jigs, into the vise. Make sure that one end is flush with the fixed jaw of the vise. Don't forget to put a spacer in the left-hand side of the vise, or it will be damaged.
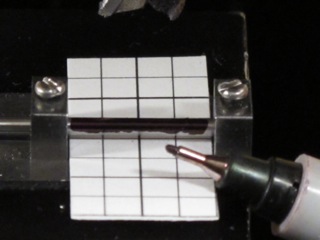
Fig.4: Use a fine-point sharpie marker to blacken the top of the rod.
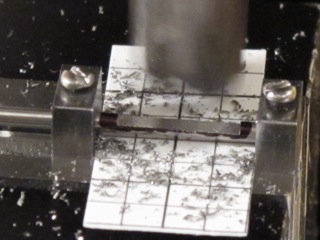
Fig. 5: Using a 3/8" dia. end mill, mill downward in .0005" passes just until the sharpie ink is marked. Set the DRO (digital read out) to zero. Proceed to mill downward to Z=.215 at 400rpm using .0025" passes.
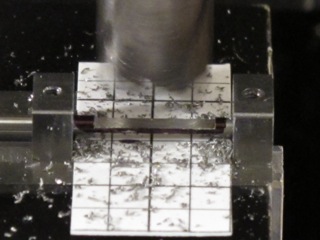
Fig.6: Flip the part over, still keeping it clamped in the jigs. Repeat the process to mill the bottom face.
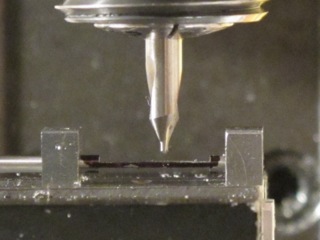
Fig.7: Put a #00 center drill, held in a collet, into the mill's spindle. Start a hole at X=.3735, Y=.124, rpm=3500. (My .25" stock measured .248" in actuality, so Y=.124 is the center.)
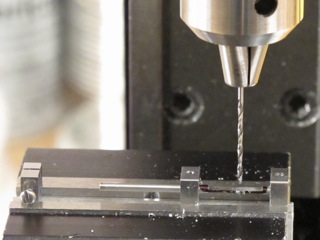
Fig.8: Keeping the spindle in the same position, replace the center drill with a #64 drill bit. The bit should be held in a drill chuck, which is attached using an arbor. Enlarge the hole, spinning the drill at 2550rpm.
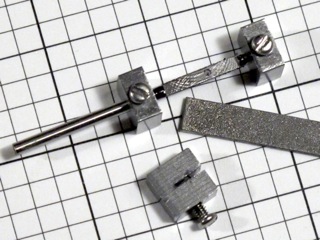
Fig.9: Remove the part from the vise. Use a diamond file to de-burr the edges and the hole. Make sure the the part can pass through the tongue-holding jig at this point. If not, file it to size.
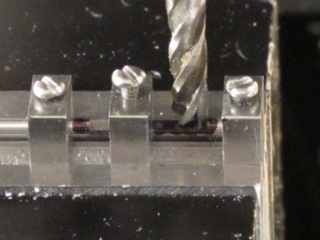
Fig.10: The part should still be clamped into the rod-holding jigs. Now put the tongue-holding jig on, loosely, just behind the hole. Put this assembly into the vise and tighten it. Now tighten the tongue-holding jig.
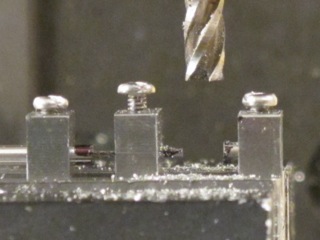
Fig.11: Using a .125" dia. end mill at 1200rpm, we're going to part the waste material at the end. Move the end mill to X=.3435. Any slop in the set-up should favor protecting the hole we've drilled, so move the end mill to the right until it physically bumps the ledge that's been milled. Mill through the flattened area of the part using .0025" passes.
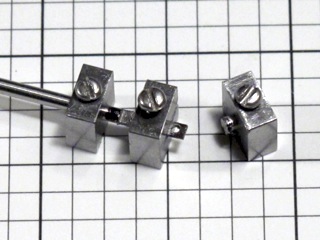
Fig.12: In preparation for rounding the corners of the tongue, blacken it with a sharpie.
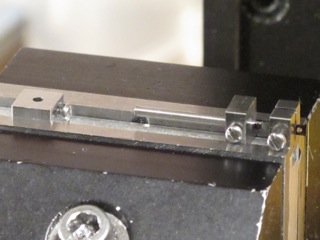
Fig.13: Put the part into the vise, still clamped in the tongue-holding jig and one rod-holding jig. Put a 1/32" radius corner-rounding end mill into a collet in the spindle.
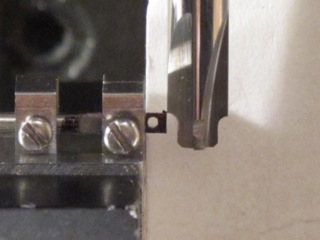
Fig.14: I've found it works best to align the corner-rounding end mill by eye. Spinning the cutter at 1200rpm, move it to the left .0005" at a time until it just marks the end of the part. Be sure not to use climb-cutting, or the part will be damaged (though it can likely be bent back into shape, if necessary).
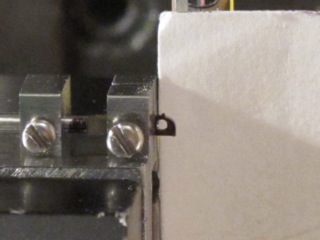
Fig.15: Once you've got the cutter in place on the X-axis, bring it downward in .0025" passes, until the corner looks about right. Perfect roundness is not crucial here.
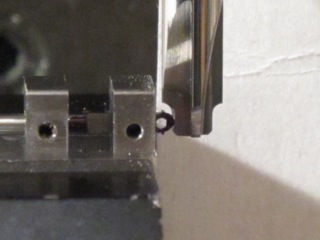
Fig.16: Flip the part in the vise and repeat the previous two steps.
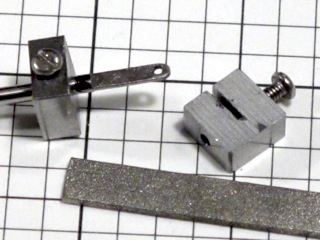
Fig.17: Remove the part from the vise and from the jigs. Use the diamond file to remove burrs. To check that the part is good, make sure that the tongue can pass smoothly through the slit in the tongue-holding jig.
(Yep, all the XY coordinates and rpms are memorized at this point…)