you are here [x]: Scarlet Star Studios > the Scarlet Letters > lsgl: crossing shot 2
<< before
artist's way guided intent (may)
after >>
lsgl: reverse engineering perspective
May 3, 2007
lsgl: crossing shot 2
by sven at 11:20 pm
No more lollygagging -- back to work on the film!

Got my second new shot in the can today. This is part of a three-shot sequence that shows the explorers crossing the cave and discovering the distress beacon.
My first shot shows that the explorers are dwarfed by the Elders. The second shot gives a sense of how crowded the hive is.
Also, importantly, I have the explorers walking between foreground and background plates. The purpose of this is to help place them in the environment. Due to time constraints, I can't have any light or shadows emanating from the lavamen. Having the perspective correct, and occassionally having them step behind things is going to have to suffice.

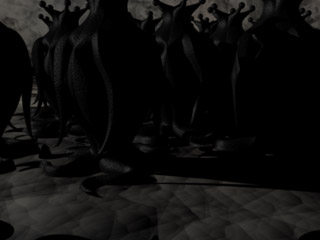
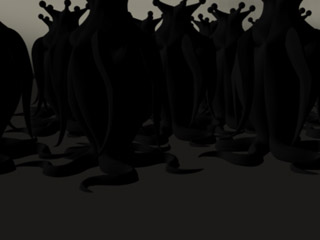
Here's the background plate that I rendered out of LightWave.

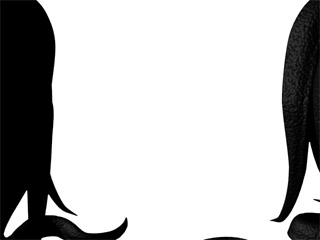
Here's the foreground plate. In PhotoShop, I used the alpha layer to select the negative space and delete it, leaving a transparent area.
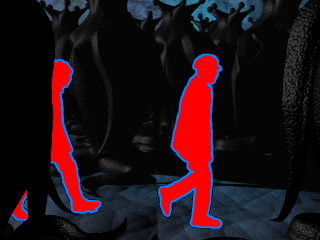
In AfterEffects, I sandwiched the footage of my actors between the foreground and background plates.

Depth of field effects take a long time to render. Today I discovered the trick of setting render resolution in LightWave to "quickshade." The quickshade version of the background plate took 1 min 33 sec to render -- as opposed to the "realistic" version, which took 7 min 3 sec. It's not as informative as I'd like -- but quickshade is still a useful tool when I have to do a lot of tests.
I'm still refining my process for compositing. Here's the latest checklist:
- AfterEffects: finalize the pace of the actors' shot
- AfterEffects: remove digital spatter
- AfterEffects: render out an RGBA .mov file
- LightWave: load the .mov file into the "compositing > foreground" window
- LightWave: pose the lavamen stand-ins
- LightWave: place the camera relative to the stand-ins (checking against the foreground)
- LightWave: parent the camera and lavaman 2 to lavaman 1
- LightWave: place the Elders and cave
- LightWave: hide the lavamen, render out a .psd file
- AfterEffects: check to see how the shot looks when combined with actors and color-corrected
- LightWave: make adjustments in positions and lighting as necessary
- LightWave: if depth of field effect is needed, add it now
- LightWave: render out the final .psd file
- LightWave: if there are foreground elements, render their .psd file out separately
- PhotoShop: if there's a foreground plate, delete the negative space
- AfterEffects: assemble background, foreground, and actor layers
- AfterEffects: do standard color-correction; adjust as necessary
posted by sven | May 3, 2007 11:20 PM | categories: let sleeping gods lie