you are here [x]: Scarlet Star Studios > the Scarlet Letters > brazing and shining "the drifter"
<< before
stopmo and storytelling skills
after >>
lsgl: new script + animatic
April 8, 2007
brazing and shining "the drifter"
by sven at 8:00 am
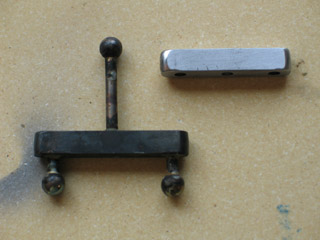
My brazing and shining skills have improved a great deal. The finished Drifter armature has really solid joins, and is really reflective when you throw a light on it. In this post I'll walk through the techniques I used on this latest project.
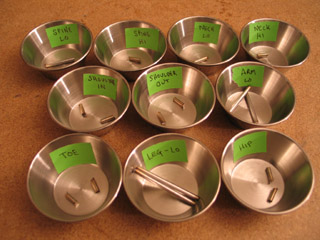
Here are all the segments of rod that I used for this project, in ten labeled bowls. They're actually bowls for dipping sauce, which I picked up at Pittman Restaurant Supply. ...A lot of time was saved, being able to confidently reach for whichever piece of metal I needed next.
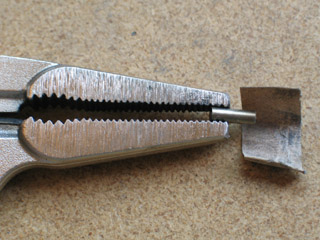
I prep the ends of all the rod segments by sanding them with a bit of fine-grit sandpaper. The purpose of this is to make sure that the rod is clean before brazing -- and to help make sure that the rod will fit inside of the ball hole.
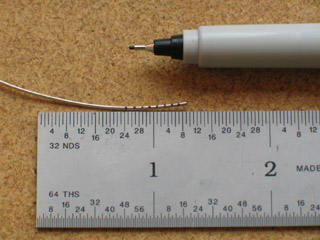
I'm using SafteySilv 56 to do my silver soldering. I use a fine-tip Sharpie marker to mark off 1/16" increments on the wire. I find it works best for me to have bits of soldering wire that are all about the same size. Instead of just eyeballing how much wire I need, I can keep notes and figure out how many bits particular joins require.
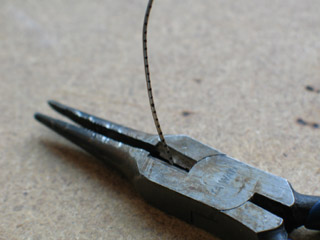
When I cut these little bits of SafteySilv, they want to go flying through the air. To avoid this, I keep my pliers flat against the table as I'm cutting. The little bits are trapped neatly underneath.
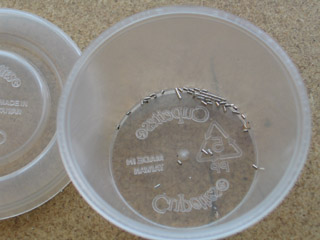
Once I've got a nice supply of silver solder bits, I put them into a plastic cup with a lid.
The lid's important. It's likely that there will be left-overs after I'm done brazing. I'll want to keep them for later... And at some point, it's innevitable that the cup is going to get tipped over. If there's no lid, the solder bits will definitely get lost.
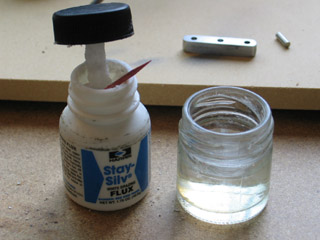
I'm using Stay-Silv flux. It tends to dry out. I've got a new trick to deal with that.
I use my pliers to cut a toothpick in half. I dip the broken end of the toothpick in water, and spread it over the surface that I'm going to braze. Then, I use the toothpick to pick up some flux, and I mix it into the moisture. This works particularly well when you're trying to get flux into tiny ball holes.
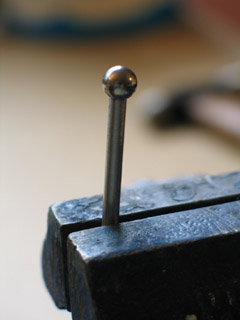
For brazing 1/4" dia. balls onto 1/8" dia. rod, I've found that one 1/16" piece of silver solder is the right amount. It creates an unbreakable bond, and almost no solder comes out the seam.
[Note: For joins where the rod is connecting a flat area (e.g. the chest block) you want the solder to flow out of the hole. With the ball, overflow would impede motion; but that's not the case in flat areas. For these, I use 4-5 pieces of solder to get a visibly trustworthy bond.]
Tom Brierton, in Stop-Motion Armature Machining, demonstrates brazing with the rod on top of the ball. Lionel Ivan Orozco, in his brazing balls to rod tutorial, demonstrates brazing with the ball on top of the rod. Which is the better method?
I believe it's better to braze with the ball on top of the rod. This way if molten solder and flux come out of the ball hole, they'll mostly run down the rod -- rather than damaging the ball itself. Also, by using this position you can usually grip the rod in a vise -- which holds it in place much more reliably than a pair of pliers. (If you opt for this method, refer to LIO's tutorial for some important details.)
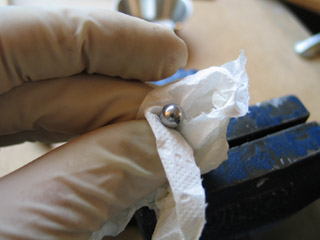
Before I light up my torch, I use a bit of toilet paper to wipe off the ball -- hopefully removing any stray drops of flux. Stray flux discolors the metal when heated... And you can't always see the clear fluid on the ball's surface.
I used a "little torch" to do the brazing. I used an oxygen-propane mix and a #7 tip.
Halfway through the job, I ran out of oxygen. Lesson learned: keep spare canisters of oxygen and propane on hand. I've been surprised at the variance in price. Oxygen costs (if I remember correctly) about $16.50 at Simon Golub & Sons -- But less than $9 at Ace hardware. I'll be keeping my eyes out now, looking for the best price.
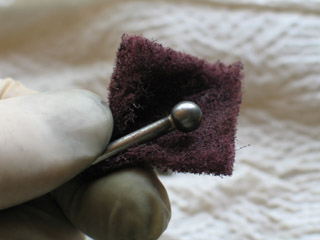
Using a big flame on the balls, they heat up quickly and don't develop much firescale (blackening). To clean them up, I use a bit of medium-grade ScotchBrite pad.
Initially when I heard about ScotchBrite pads, I thought it was the same stuff that you use to wash dishes. Well, it's the same makers -- but a completely different product. This stuff you find at a good hardware store. In Portland, I get it at W.C. Winks. It doesn't seem to be available at Ace (which is located much closer to me).
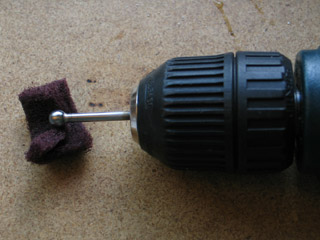
Here's a handy trick I came up with... You can put a ball-rod assembly into the chuck of a hand-held power drill to speed up the cleaning process.
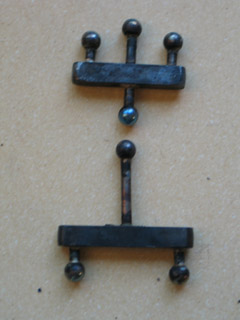
When I braze the armature's chest and pelvis, the firescale problem is much worse. Because there's more metal to heat up, I have to hold the flame on it much longer. If there's a way to avoid blackening my parts like this, I'd be very grateful to learn it!
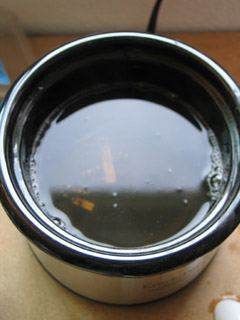
I now look at pickling as being mostly about dissolving leftover flux... But it does help loosen and get rid of some of the firescale too. It may be that if I left the parts in the pickle for a longer period, I'd get better results. I'm unclear at this point how long parts ought to sit in the liquid.
I'm using Sparex #1, which is specifically for steel. There's a note on the label that it doesn't work on stainless steel unless you run an electrical current through the mix... Something that I don't see myself attempting anytime soon!
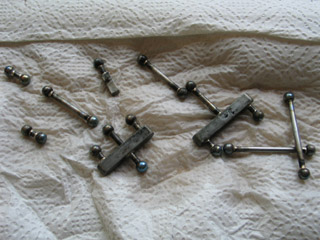
Here are the parts after being pickled. Better -- but not great. The rest of the shining I did with ScotchBrite. (I also used fine-grit sandpaper on the large flat areas.)
difficult bits: the chest, pelvis, and feet
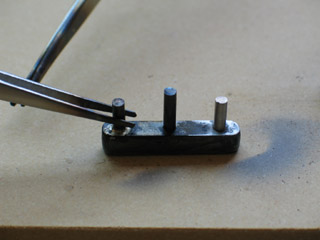
Constructing the chest and pelvis blocks is rather challenging. Figuring out how best to hold the parts, and in what order parts should get brazed together -- it takes some thought. The following photos show a series of set-ups that worked out pretty well for me.
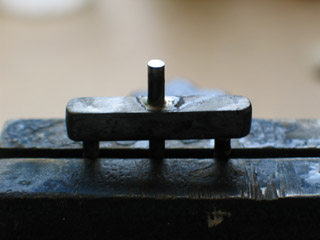
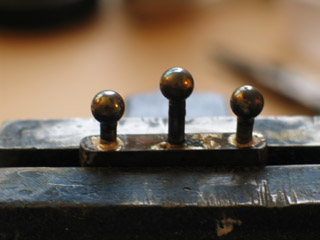
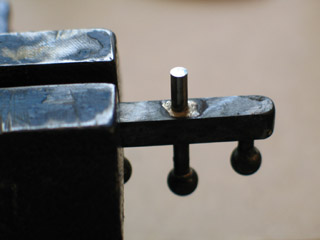
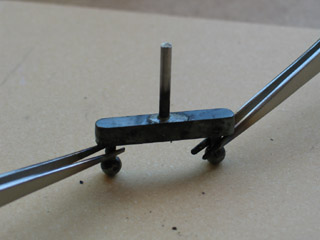
For me, the feet are usually the most challenging part of the armature to construct. I'm not entirely happy with this armature's feet, but let's take a closer look at them.
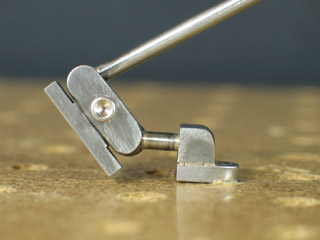
Problems with the feet:
- I made the sole of the foot too long -- it actually cuts into the ground when the armature goes up on its toes
- the joint in the foot should be closer to the toe, not right in the middle
- the sole of the foot isn't wide enough to feel really stable
- the sole of the foot is overly thick
- the toe barely has enough surface area to grab onto the floor when its tie-down is tightened
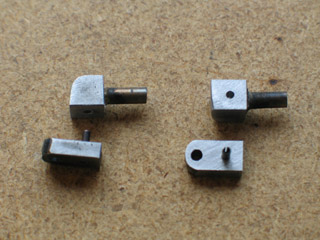
For the feet, I had to braze flat surfaces to flat surfaces. I find this more difficult that brazing balls onto rods -- where the silver solder is neatly tucked inside of the hole, and the rod holds it in place.
I used roll pins (AKA "tension pins") to create a mechanical bond between the parts that I wanted to braze. This makes the join stronger -- and holds things in place while you're applying the flame.
These are 1/4" long, 1/16" dia. roll pins that I got at Ace hardware. In order to make an appropriately sized hole for them, you need a #52 jobber. (Figuring out what size drill bit I needed, and then going out to buy it -- that ate up a work day.)
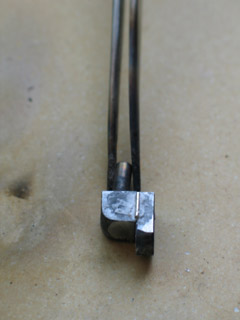
When you're brazing, the solder wants to travel toward the source of heat. That means that you can't just shoot fire at it -- you have to figure out where to place the flame so that the solder will flow where you want it to go.
For brazing the toe -- which you see above -- I laid wire on the side of the toe (which was pointed upward) and applied heat to the front. This worked adequately well, but not great.
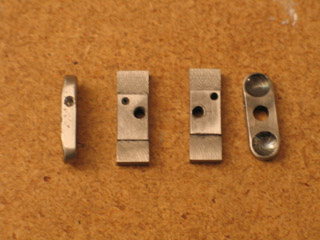
For the sole of the foot, I milled away a little metal on both ends so the balls of the joint couldn't accidentally rub. (I could also have just used a file -- but I was feeling fussy.)
I really needed the roll pins to hold the parts together for this set-up. In the photo above, the smaller holes are for the pins.
Heating up the ankle joint created firescale in the sockets, which is difficult to ScotchBrite out. One more reason why I'd like to learn how to better avoid firescale in the first place!