you are here [x]: Scarlet Star Studios > the Scarlet Letters > star wars @ omsi: spaceships
<< before
star wars @ omsi: phil tippett - stopmo god
after >>
star wars @ omsi: easter eggs!
January 9, 2007
star wars @ omsi: spaceships
by sven at 8:00 am
More about the recent Star Wars exhibit at OMSI...
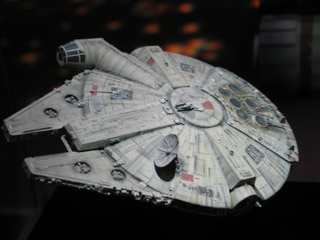
The amazing thing about the model spaceships I saw is that their detail looks good whether you're standing four feet away -- or four inches away. Many of the models weighed 70 pounds, 100 pounds, or more. Moving them could require several people helping.
The Millenium Falcon you see above was a special exception. It could fit in the palm of your hand. It was used for just one shot: the one where the Falcon is clinging to the back of a Star Destroyer in The Empire Strikes Back. It's a gorgeous piece of craftsmanship -- and I have absolutely no idea how it was constructed.
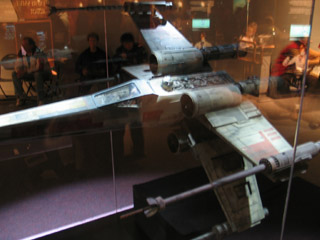
This X-wing is four feet long. The story goes that some of the crew were making it in their spare time... But the higher-ups heard about it, and then it got used in the film.
How do I know this stuff? The book Sculpting A Galaxy: Inside the Star Wars Model Shop was just released in November. It has a wealth of info and photos that haven't been available before. ...Uh, that and the fact that I'm a geek who's been soaking up details about Star Wars' special effects all my life.
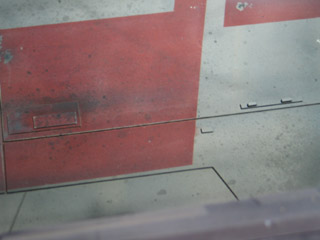
While at the exhibit, I became fascinated with trying to figure out how the surface textures of the spaceships were created. I'm pretty sure that what we're looking at here is just some spare bits of sheet styrene that have been glued on, and a good airbrush paint job.
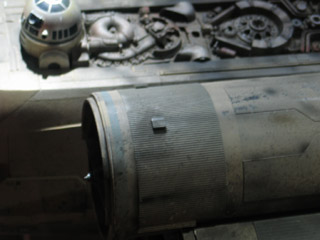
See that striated strip on the engine? That's also sheet styrene. I feel sure that I've seen patterned styrene like that at model railroad supply stores.
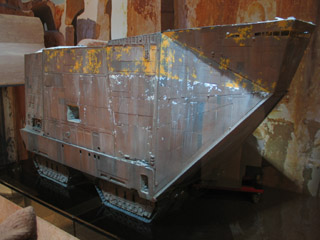
I believe this is the sandcrawler model that was made specially for the 1997 re-release of A New Hope...
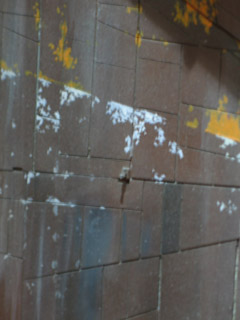
For this scale, rectangles and trapezoids of sheet styrene were cut out, then glued onto MDF. There are actual spaces between the pieces of styrene, to accentuate that "sheet metal welded together" feel.
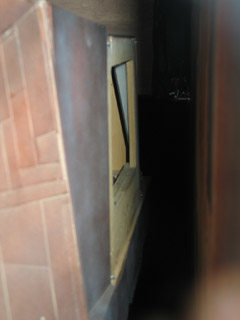
You're not supposed to be interested in the backside of the model... But I strained to get a good look. The frame for the sandcrawler is definitely MDF -- medium density fiberboard.
It's so exciting to see materials that I recognize!
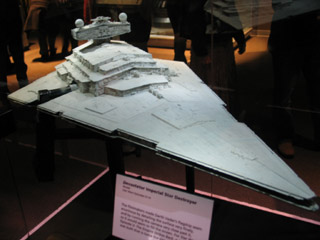
Of all the spaceships that were on display, the Star Destroyer is the one that is supposed to be the largest (relatively speaking) in the Star Wars universe. In real life, it was maybe a little over three feet long. However, the original Millenium Falcon model from A New Hope was by far the largest model exhibited. It was more like four feet in diameter. And it would take at least four people to lift it.
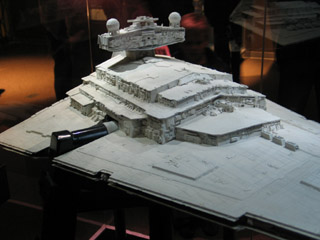
All of the large spaceship models were supported by big metal tubes (3" diameter?). These tubes are welded onto wheeled carts, so people setting up the Star Wars exhibit can move them around more easily.
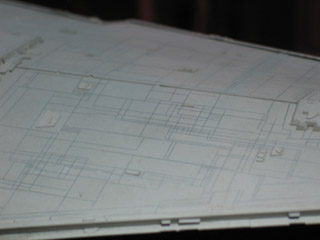
In essence, the star destroyer has the same "sheets of metal welded together" look that the sandcrawler has. However, the scale is different. The Star Destroyer is supposed to be around a mile long. So rather than cut out pieces of sheet styrene, it looks to me like the surface is one single sheet -- which has simply been scribed with an X-Acto blade.
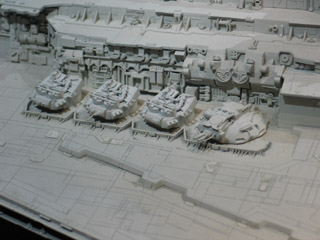
How did the model makers create all that amazing detail? "Kitbashing." They'd take hundreds of pre-made model kits, and use little bits and pieces in unrecognizable configurations.
The spheres on top of the control tower? I have a hunch that they're faceted plastic "crystals" that you use to make rainbows, which have been spray painted over.
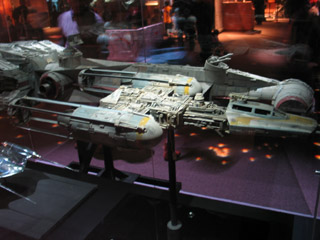
Talking about the exhibit with a friend, he asked me how good the kitbashing actually was. Could I recognize little bits and pieces as being from other things?
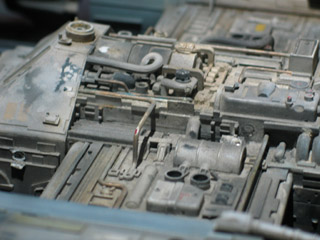
Nope! It was truly amazing. The only bit I ever recognized as being something, um, recognizable... was on the Y-wing. There's that little bit that was clearly a oil canister of some sort in its previous life.
This photo's also interesting because you can see a lot of rod -- most likely brass -- that's been carefully bent at right angles. You can probably do that with just a pair of pliers. I think there's also a tool available via Micro-Mark that helps you do that.
[to be continued]
posted by sven | January 9, 2007 8:00 AM | categories: exhibits & events