you are here [x]: Scarlet Star Studios > the Scarlet Letters > working quick and dirty
<< before
monster month - 12
after >>
monster month - 13
October 21, 2006
working quick and dirty
by sven at 9:00 am
I've been focused on armatures for a few months. I want to start moving in a more holistic direction. The idea is to jump in and start doing quick and dirty animation... Stuff that's not up to my standards, but that gets me in motion and gives me something to improve on.
Here's what I did yesterday.
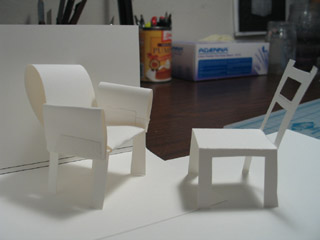
I have an idea for the StopMoShorts challenge, so I'm going to be applying myself to that. The first scene is in a room with two chairs, so I did a quick mock-up using card stock.
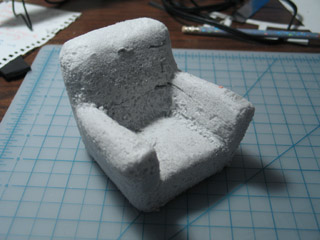
One of the chairs is a big comfy thing. I carved it out of blue insulation foam using "Hot Wire Foam Factory" tools, then some small rasps, then sandpaper. The fumes and dust this foam creates are awful -- but I love how easy it is to work with.
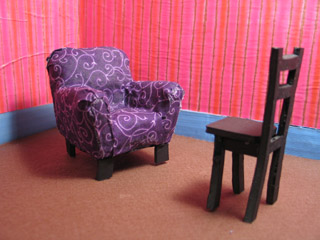
The comfy chair got covered with fabric, using hot glue. The comfy chair's legs -- and the entire other chair -- are made from black foamcore. These props turned out smaller than I'd intended, and they're going to be difficult to affix to the floor of the set. They might not work out for actual animation... But that's OK. Remember: "quick and dirty."
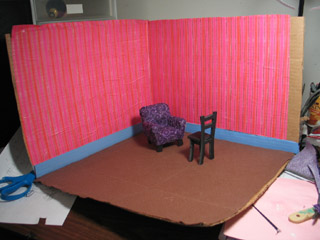
The living room set was constructed out of a cardboard box. The carpet is made from pieces of felt glued down with Elmer's glue. The wallpaper is gift-wrapping paper. The cardboard warped pretty badly... If I wind up actually using this first draft for animation, I may need to staple-gun it to a piece of wood.
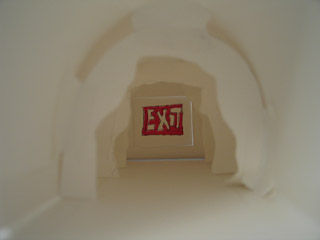
The keywords for the StopMoShort challenge this quarter are cave, sword, and fear. I've got a cave tunnel in my story... And this is the paper mock-up I did for it.
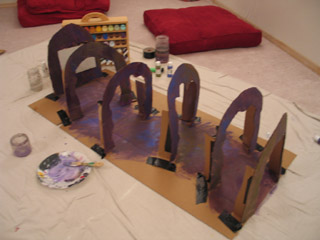
The tunnel is built out of cardboard again... More trouble with warping.
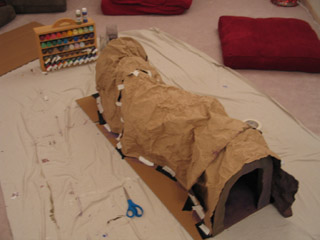
To simulate rocky walls, I painted butcher paper with cheap acrylics, let the paint dry, then crumpled it up. I'm pretty pleased with the look. (Note that the outside of the tunnel is not painted.)
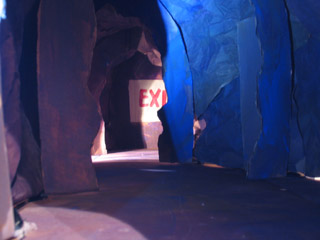
I tried a couple of test photos inside of the tunnel. The idea is that the camera will scoot along toward the end, simulating the main character's point of view.
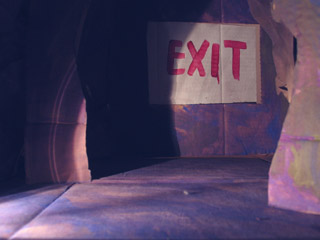
Lighting the tunnel's going to be more difficult than I thought. I initially intended to attach a flashlight to the camera itself -- but it turns out that I'm going to need much more ambient light than that. For these test shots, what I did was sneak a flashlight in behind one of the arches, and then set the camera for a very long exposure.
If I wind up doing a second draft of this set, I think xmas lights (or something that size) hidden behind arches would probably give me the quality of light that I'm looking for.
posted by sven | October 21, 2006 9:00 AM | categories: stopmo